Tuesday, April 20, 2010

Tech Tuesdays - PDN


I subscribe to a lot of photography magazines. I get so many, sometimes I haven't finished the last issue when the most recent issue shows up. I usually have 2-3 sitting around waiting to be read. Because of this, I've been trying to decide which subscriptions I want to renew and which I want to drop. It's not like I don't like all the magazines, but it would be nice to read something besides photo magazines for a change.

One magazine that has definitely made the cut is Photo District News (PDN). Although it's the most expensive out of all the magazines I subscribe to ($65/year), it's also the most informative and useful. It's published on a monthly basis, so the news in each issue is up to date. It even comes with an online subscription that has exclusive content for subscribers that's not found in the magazine.

Each issue of PDN has a theme. Some past themes include lighting, weddings, studios and photography now. Although most of the articles in the issue are geared towards the theme, there is still plenty of industry news in each issue. PDN also does some product reviews, but they tend to be more of a description of real-world use instead of a bunch of technical tests. The articles that cover the theme of the issue are always filled with great information from people in the given segment of the industry. The insight they can offer is just amazing and the photos that accompany the articles are wonderful. There is also usually an interview with someone who is very involved with the theme of the issue, so one month you might hear from someone who works for an advertising agency about the mailers that caught her attention and another month you might hear from a photographer who does a lot of work with non profit organizations about how he got involved with non profits and actually makes money working with them.

Out of all the magazines I read, other than Rangefinder, PDN feels the most relevant to the professional photography community. There aren't articles about how to shoot great landscapes, tips for great wildlife photos or way to get people to look natural in photos. There aren't reviews for the latest point and shoot camera or which camera bag is the best. Heck, even the advertisements are more pro-oriented!

Although it's one of the more expensive magazines out there, it's one that I will definitely be renewing my subscription to. In an effort to save time and money and to simplify my life a little, some things just have to go. PDN just has to stay.

Tuesday, April 13, 2010

Tech Tuesdays - Extension Tubes


Sometimes you need to get a little closer to an object than your lens will allow. We've all been there: You want to take a nice photo of a flower, but your lens won't focus any closer than 3 feet away, so the close-up you were trying to get isn't possible with that lens. Or is it?

If you had an extension tube in your bag, it might be possible. An extension tube is just a tube that fits between your camera and your lens. Some are made to retain autofocus and metering capabilities. Other, older models turn the most modern, expensive lens you own into a non-metering, non-AF'ing lens. In reality, that's not really a problem as you will probably be shooting a still subject and have your camera on a tripod.

The extension tube I own is the Nikkor M2. This tube came as an accessory to the 55mm Micro-Nikkor f/3.5 lens. By itself, the lens can reproduce a subject up to a 1:2 ratio. With the extension tube, the reproduction starts at 1:2 and goes to 1:1, a true macro. The M2 fits any Nikon lens, but it does not retain any metering or AF. I decided to give it a shot on a few different lenses that I own to see what kind of a difference it makes.

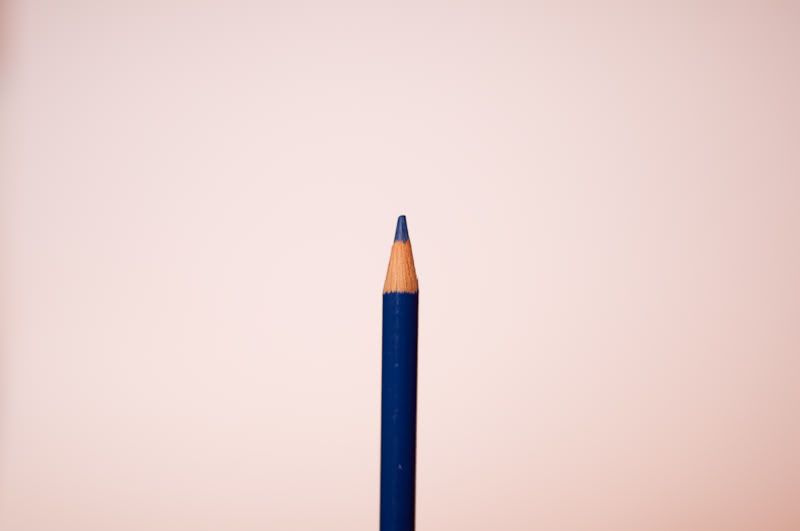
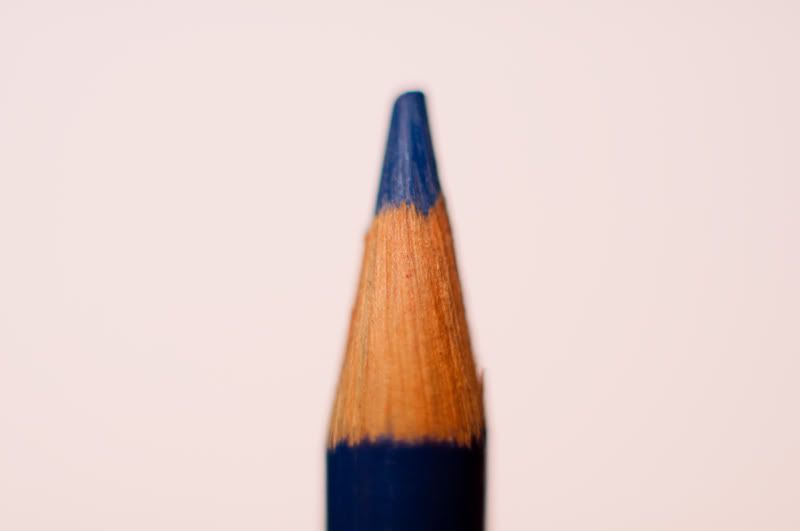
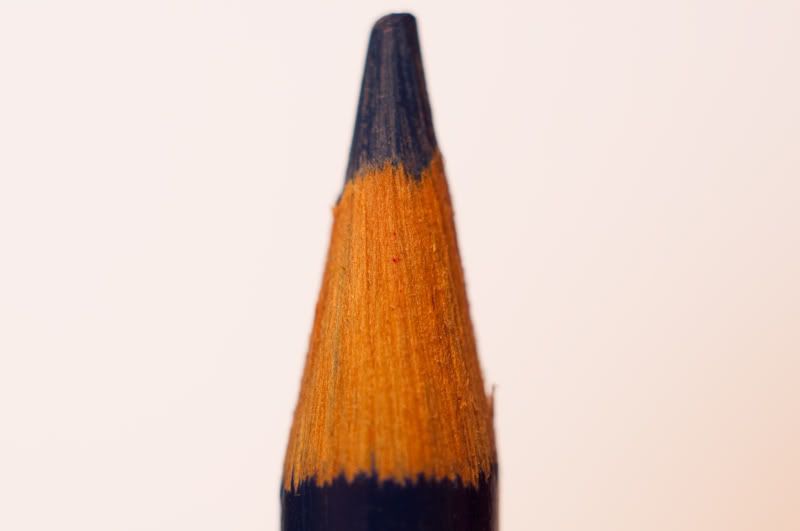
First, I tried it on my 50mm f/1.4 AF. This is an older lens that still has the aperture ring on the lens. Once the extension tube is put on, the camera can't control the lens, so fortunately I was able to manually choose my aperture. Without the tube, my minimum focusing distance was 14". When I put the tube on, I was able to focus from 3" away. You can see, I was able to get much closer to the pencil and get more detail. One thing I will note is that both of these were shot at f/1.4. When you put on the extension tube, your DOF dramatically decreases, so focusing accurately with such a large aperture is very difficult.


Next, I tried my 55-200mm VR lens at 200mm. This lens' aperture is completely controlled by the camera. For my initial shot without the tube, I shot at f/5.6 and my minimum focusing distance was 36". Once I put the tube on, I was able to focus from 24" away but the lens defaulted to it's smallest aperture, f/32. This was not very convenient, as I had to do a super-long exposure. I doubt this option would ever be convenient enough to be effective.


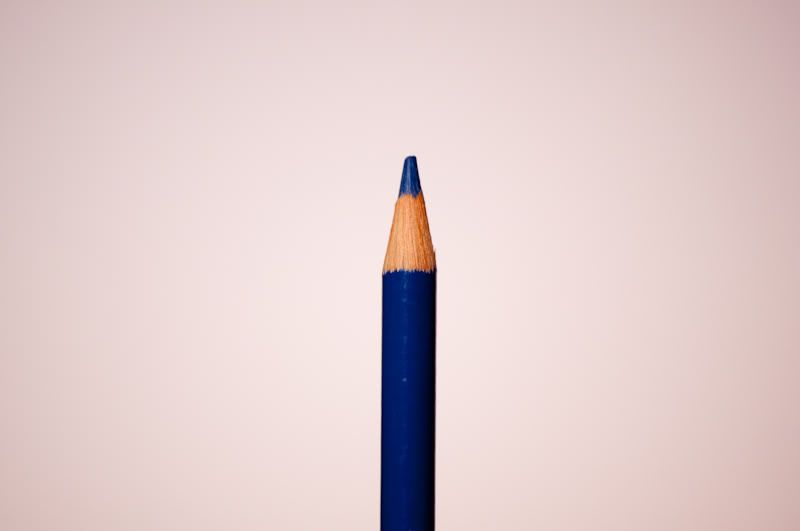
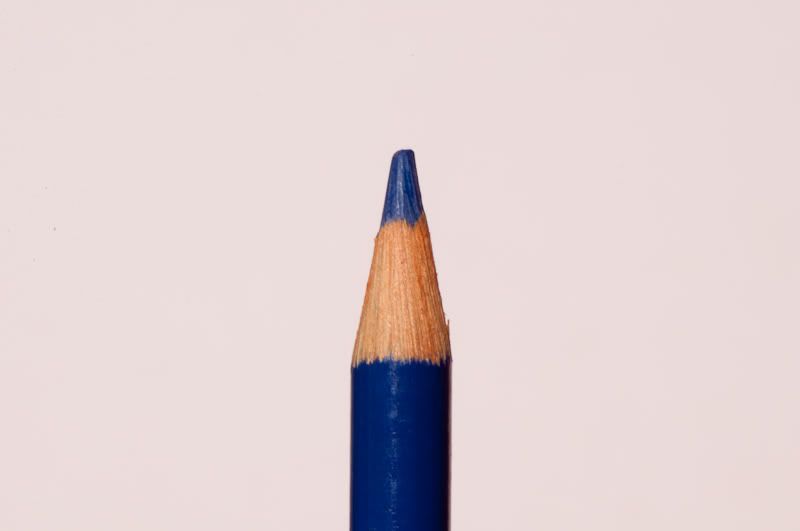
Finally, I tried the lens the extension tube was made for, the 55mm Micro-Nikkor. I set it at f/3.5 and was able to focus on the pencil from 5" away. Once I put the tube on, though, I was able to focus from only 2" away. You can see just how close I was able to get.


An extension tube can really change things up for the way you shoot. It can allow you to focus closer than you typically could with any given lens. It can decrease your depth-of-field. It can also disable any fancy features your lens might have, as well as taking away a few stops of light. Ultimately, if you need to be able to focus closer to an object and are working with a tripod, there's no reason not to have an extension tube at your disposal!

Wednesday, April 7, 2010

The Hair Shoot


Anyone who's read this blog before has probably seen me write about working wit Tanya Owens. I've done four photo shoots with her before (see here) and she's also done hair at two of my photos shoots (see here for what I thought about it). Well, one of the shoots wasn't actually mine... Tanya had the idea and put it all together and all I had to do was show up with my camera. As a team, though, we got some pretty good stuff.

Tanya contacted seven of her regular clients, as well as a few models that she knows, to be hair models for this shoot. She met with a few of them before the shoot to do their hair, so all they had to do was show up at the studio, get their makeup done and they were ready to shoot. I set up a few different lighting setups and got ready for a wild ride.

I couldn't believe how smoothly everything went. Tanya was doing hair. Jacki was doing makeup. I was shooting as soon as they were ready. We really didn't have a chance to rest until the shoot was done, a little over 4 hours later! Tanya was so good she even had a chance to re-do many of the model's hair so they had different looks!

I'm not sure how many "wins" there were in this shoot, but let me try to figure it out: Tanya got photos for her portfolio; Jacki got photos for her portfolio (plus, she got to model a little also); the models got photos of themselves with fabulous hair and makeup; I got photos for my portfolio (plus the experience of a big, fast-paced shoot). I guess that's a win-win-win-win, not to mention all of the other "wins" that could still happen, like the photos getting printed in hairstyle magazines or books, increased customer loyalty for Tanya, me possibly getting more business because of the contacts I made that day... Oh, I know of another win: I've since hired Jacki to do makeup for another shoot that I put on! I love stuff like this!

You can see more photos from the shoot here.

Tuesday, April 6, 2010

Tech Tuesdays - Renting Equipment


In the world of cameras, there are many items that are either too expensive or too specialized to own. A tilt-shift lens comes to mind as a great example. There are also items that, for someone who's just getting started, would be great to test first without plunking down thousands of dollars. Fortunately, there are companies who rent camera equipment! Most, if not all, rent lenses and bodies, but it might be good to see what else some of these places rent.

I had a big photo shoot a few weeks ago and I was shooting with another photographer. In order for both of us to shoot in the studio, we both needed Pocket Wizards. If we wanted to have different setups that we could move between, we needed even more Pocket Wizards. We had a few options: We could borrow some Pocket Wizards from other photographers; We could buy a few more Pocket Wizards; or we could rent them. It quickly became clear that borrowing them was out of the question. Buying them would have been great, but neither of us had $500 lying around that we could spend on more camera gear. That left the rental option.

I remembered a friend of mine telling me about a local company (in Boulder, CO) that rented equipment. I figured I'd look them up and see what they had to offer. What do you know? They had a set of 3 Pocket Wizards for rent! That would be perfect for 2 lighting setups. I sent an email off to Jared, the owner of the company, and quickly heard back from him that I could come pick them up the next day!

The company I rented from is called Pro Photo Rental. They're not the biggest rental company around, but they've got just about everything I could want and they're local. I can just imagine a scenario where having a local source to rent equipment could mean the difference between landing a job or loosing a job. You can believe me that after my wonderful experience with Jared and Pro Photo Rental, they'll be the only place I use from now on.

If there's a piece of gear you've been wanting to buy, you might try renting it first. I'd highly suggest searching for a local company as well. You never know when it might just come in handy!

DISCLAIMER: I am in no way affiliated with Pro Photo Rental. I did not receive any kind of discount on my rental for writing this. Jared doesn't even know I'm writing this. I'm just a happy photographer who had a good experience and will definitely be borrowing more of Jared's "toys"!

Photo Credit:

Friday, April 2, 2010

Ross


Sometimes things get a little slow and you just want to shoot. Fortunately, when that happens, all I have to do is put out a casting call and I can usually set up a shoot rather quickly, even with last-minute notice! For my latest casting call, Ross came to the rescue. He wasn't doing anything and drove up from Colorado Springs for a shoot. What made this shoot even better was that I had worked with him at my last shoot in Colorado Springs, so we already knew each other.

Before we could shoot, though, Ross had to get to the shoot. He missed the turn and ended up driving about an extra 15 miles north of the studio. Fortunately, he called me before he got to Wyoming, so I was able to get him turned around and to the studio pretty easily! Once he arrived, since we already knew each other we were able to start shooting right away.

Typically, Ross models underwear. For this shoot, he wanted to shoot without a shirt, but keep his pants on. That was fine with me, as I didn't really have any shots like that in my portfolio yet. It also gave me a chance to play with some more harsh and severe lighting styles that don't typically work for families or female models. He got the shots he wanted, I got to do something different and we both had a good time.

Unfortunately, because of his lengthy detour on his way to the shoot, Ross and I didn't get to shoot as long as we would have liked. I still give him a lot of credit for not getting frustrated when he got lost and coming to the shoot with a good attitude and ready to shoot. I really like the photos we got and hope that he finds them useful as well.

You can see more photos from the shoot here.

Thursday, April 1, 2010

A Quick Note...

April 1: *** IMPORTANT ANNOUNCEMENT ***

I just thought I'd let you know about a little change I've decided to make. For Christmas, I was given Chase Jarvis' book, "The Best Camera Is The One That's With You". This book has inspired me to start using my phone's camera more often. I've started enjoying it so much that I've decided to give up my DSLR and just use my camera phone for everything from now on.

Sure, there are a few downsides to this plan. The battery on my phone doesn't last as long. For example, my phone dies after an hour or two when the screen is constantly on, but at a recent photo shoot I was able to shoot for 5 hours, took about 1400 photos with my DSLR and the battery was only drained to 45%. Also, I can't hook up my Pocket Wizards to my phone, but I think with a little practice I'll be able to manually trigger the flashes when I take a picture with my phone. There's also the perception that using a camera phone at a photo shoot isn't "professional". All I have to say is that if people don't understand my creativity, then I'll just go find someone who does!

On the plus side, my phone has many features that my DSLR doesn't. For example, I can instantly email photos to anyone right after I take them. I can also post them to Facebook or Flickr from my phone. No more uploading to a computer, resizing and emailing. Sometimes I miss a phone call when I'm at a photo shoot because the music is turned up or I'm just to into what I'm doing... but not anymore! Now I'll always have my phone in my hand, so if someone calls, I'll just stop taking photos and answer the phone! The best aspect of this is definitely the amount of gear I'll have to worry about. In the past, I'd have to show up with a big bag of camera gear. It's heavy and takes up a lot of room in my car! Plus, I always worry about it getting stolen. Now, I just toss my phone in my pocket and I'm good to go!

I hope that you understand that these changes I'm making won't impact the quality of the photos I take. My clients are my highest priority. I'll continue to put every ounce of energy into the creative process to ensure that your photos.... hold on, my phone is ringing.

Tuesday, March 23, 2010

Tech Tuesdays - Lens Hoods


Most lenses come with one. Sometimes they get used. Sometimes they never leave the box. They have many different uses. Lens hoods are pretty amazing little things.

The purpose of a lens hood is to shield the front lens element from glare. Lens hoods are made specifically for different lenses, because depending on the focal length of your lens, a random lens hood might not offer enough glare protection or it might intrude into the field of view and appear in your photo. Wide-angle lenses have small, petal-shaped hoods. Tele-zooms have long, narrow hoods. These lens manufacturers know what they're doing, so if you're going to use a lens hood, make sure you use the correct one for your lens.

Another use for a lens hood is to protect your lens. Because the front element of a lens is completely exposed, any bumps, scrapes or knocks that your lens takes can potentially damage the glass on the front of your lens. By putting on a lens hood, there is an extra layer of protection between your lens and the real world.

If you've got a lens hood and use it regularly, that's great. I've heard from many pros that they always have a hood on their lens, eve when working indoors, simply to protect the lens. But, what if you don't have a hood or just don't want to be bothered? As for protecting the lens, you can always use a clear filter, but what about glare? Sometimes all you need is your hand, a hat or even a piece of paper. just hold it up above your lens so that no light falls on it and you'll get much better images.

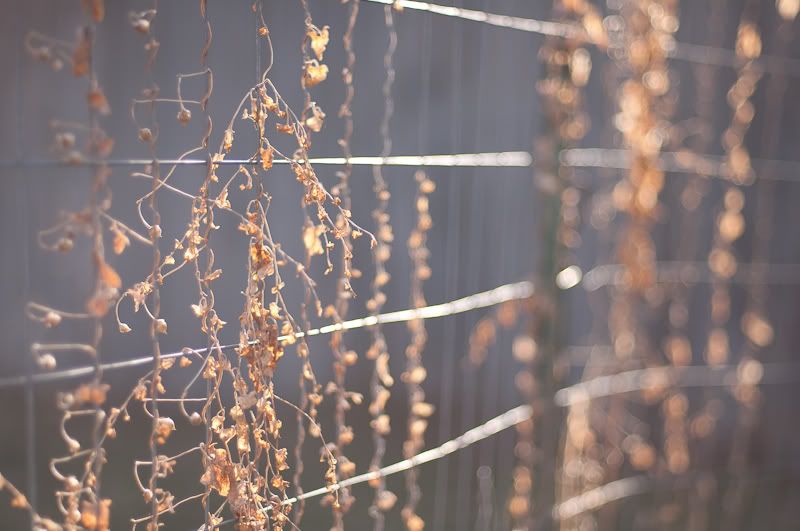
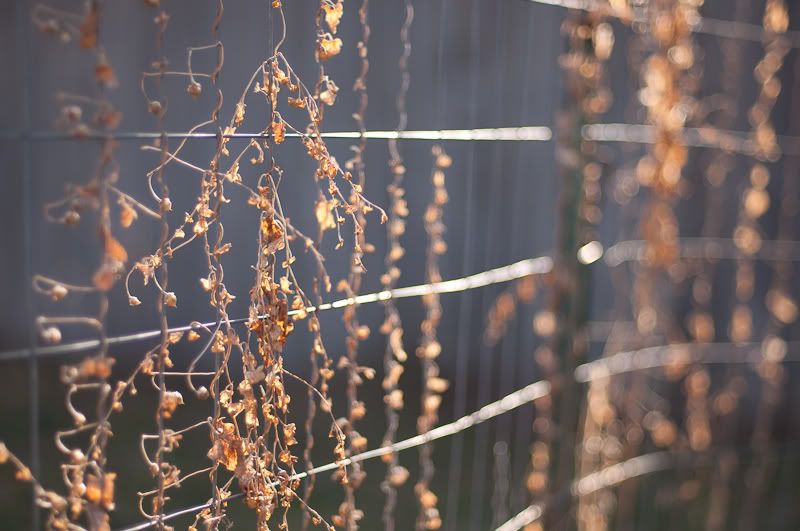
For example, the two shots below were taken only seconds apart with the same exposure, but they look different. Why? I shaded the lens with my hand in the second photo. Note the improved contrast and better color in the second photo. Both of these images are straight out of the camera with no adjustments made.


Keep in mind, this won't work, either with your hand or a lens hood, if your light source is in the frame. If you're shooting into the sun, you're going to have glare, your going to have flare and your images will have a washed-out look. That's not a bad thing if that's the look you're going for, but keep in mind that a lens hood is just a piece of plastic, it's not a magical, light-shielding device that will tame the sun. Actually, maybe it is. I should read that manual sometime...

Quick tip: If you want to keep a hood on your lens at all times but don't have enough storage room for a lens with a hood on it, just flip the hood over! In the image at the top of this post, you'll notice that the lens on the left has a hood, it's just flipped over so that it covers the barrel. They fit great this way and hardly take up any extra room in your bag. When you need it, it's right there on your lens!